
In my 8+ years living and operating online businesses in Asia, I’ve learned a few hard lessons. Here’s a big one: China is different. When it comes to delivering a website, app, or any sort of internet bound service China requires far more planning and investment than any other market in the world today.
ZipMatch at AWS Summit Manila
I had the pleasure of presenting ZipMatch’s technology on April 20th at the AWS Summit Manila. You can check out on the Summit On Demand page, or better yet, right here. 🙂
5 Home Projects with my Raspberry Pi
Growing up in Canada, I always had a computer around the the house to tinker with. It started with a Macintosh Plus, followed by 486( DX2!). In my adult years, I usually had one tower I would keep alive just to tinker with. A computer to use as a home-server of sorts without the risk of nuking my main machine.
When I moved to the Philippines lugging a big tower over was out of the question for a few reasons.
1- Space. A 60 square meter (650 square foot) Condo doesn’t leave a lot of room to run a bulky PC tower and monitor.
2 – Power. Power in Manila is at least 3x more expensive than my native city of Vancouver. Running a PC all day just for hobby projects could mean another $750 to $1000 a year in power costs. No thanks.
3 – Cost. I wasn’t all that keen to build another tower, or pay to ship my existing ones over.
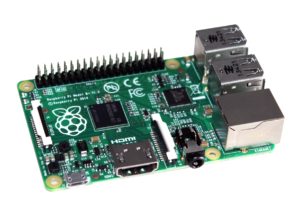
So needless to say when I heard about the raspberry pi a few years back, it piqued my interest. Its aimed at hobbyists. The mainboard is about the size of credit card, it runs on a low-power ARM CPU, runs a variant of Debian and costs about $35. Not bad!
I bought my first pi about 2 years ago, just as they announced the Pi 2 Model B. I’ve since used it for a number of fairly practical home projects that I’ll detail below. True Pi hackers be warned, these are pretty normal use cases. No home automation or spotify Jukeboxes here I’m afraid. Just boring sys-admin stuff. 😉
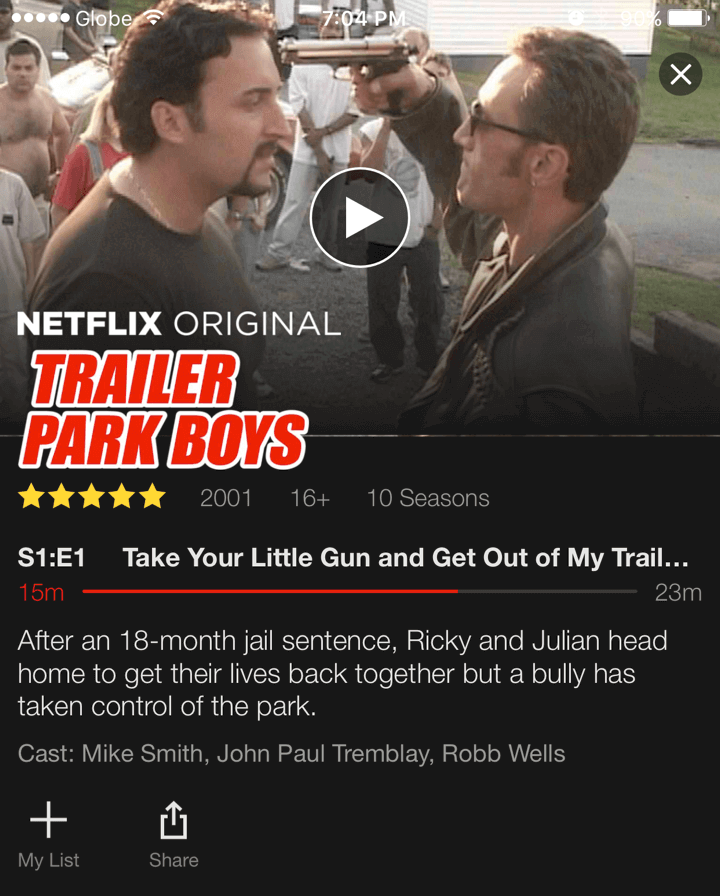
Project 1 – Netflix / Geo-unblocking
Around the time I got my Pi, netflix was still unavailable in the Philippines, so getting it into my living room required a bit of monkey work. Although netflix may be global now, there are services which allow you to pick any region you like, so you can swap to US Netflix content, or UK, Canada, etc. Pretty cool.
There are a number of services out there that can get around the geo-blocking. I wound up using a provider called Getflix. Getting getflix to work off the bat is pretty simple. Go go the website, and sign up. “Confirm” your current IP, and ensure the device you want to use has one of the Getflix DNS servers set. Simple enough.
However, there were two drawbacks to this sort of setup. One, devices would need to constantly switch DNS servers when they were coming / going from the house. Not exactly something I felt like doing each time I wanted to watch Netflix.
Second, with a home DSL connection, my IP would change and Getflix would stop working. The Getflix DNS servers are secured via IP. So each time my IP changed I needed to log into the Getflix website and update my IP. This wasn’t a major hassle (they actually provided a tokenized link to do it quickly), but still, the little things irritate me.
My goal was to automate all of this behaviour, so I could open netflix on any device on my home network without additional steps. Automating these two things turned out to be pretty simple.
First, I installed and configured BIND on my pi, using Google’s DNS as forwarders. Tutorial here.
Second, in /etc/bind/named.conf.options I added specific zones for netflix, HBOnow and any other services I wanted to use via Getflix like so:
zone "netflix.com" IN { type forward; forwarders { 54.251.190.247; 106.186.22.8; }; }; zone "hbonow.com" IN { type forward; forwarders { 54.251.190.247; 106.186.22.8; }; };
HTTP/2 is Awesome. Why aren’t more people talking about it?
If you are reading this, you probably use HTTP nearly every day. It is the basis of the of the world-wide-web, and backbone of most applications we use over the internet. This website, your facebook app and even smart TV’s rely on HTTP to transfer data to and fro.